INSTALLATION AND CONFIGRATION GUIDE
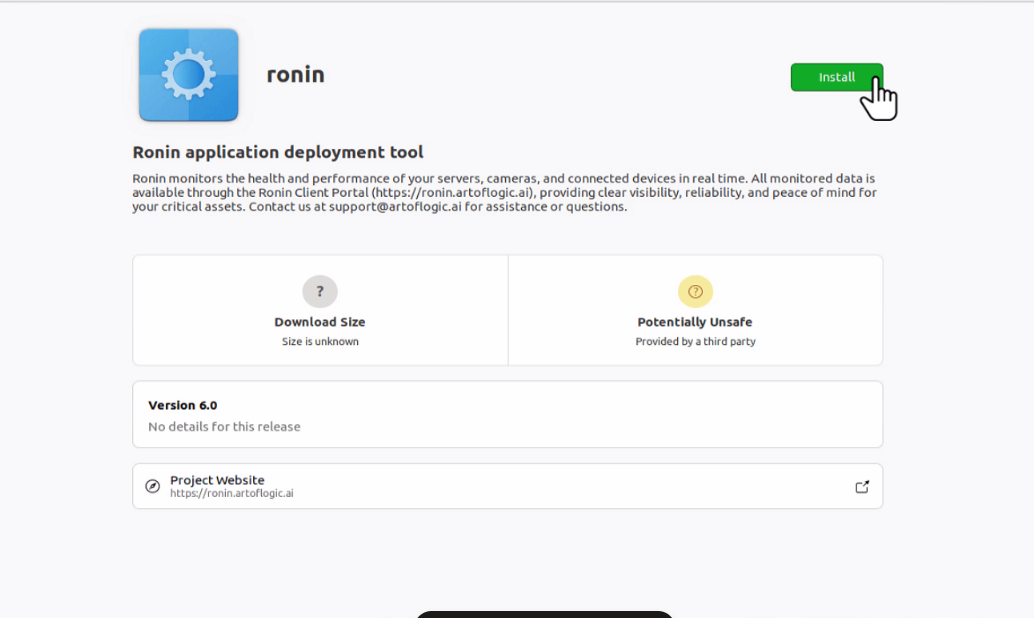
1 - Download and Install Ronin
Open a web browser and navigate to the URL: ronin.artoflogic.ai
Once you are in the Ronin portal click on the "Resources" tab in the side menu and then click on "Downloads & FAQs".
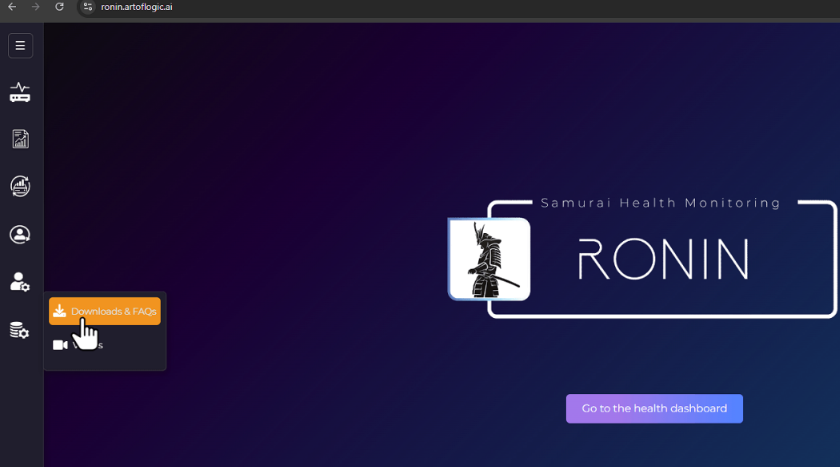
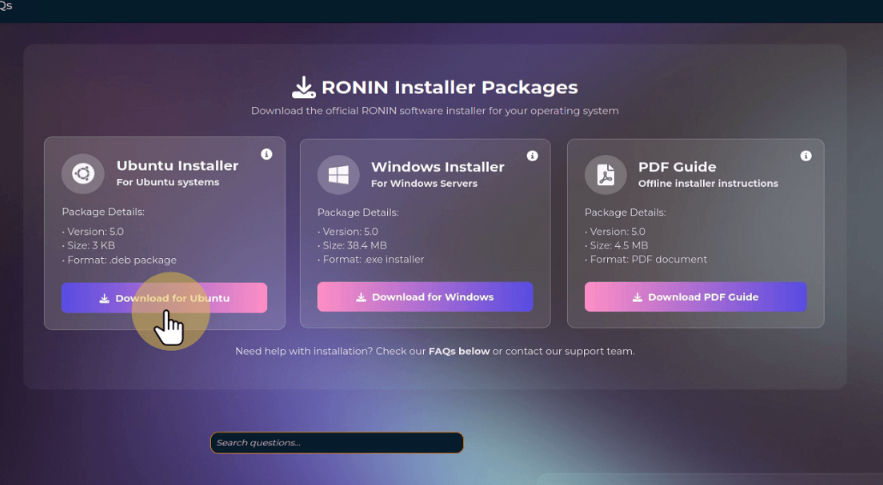
This will bring you to the following page.
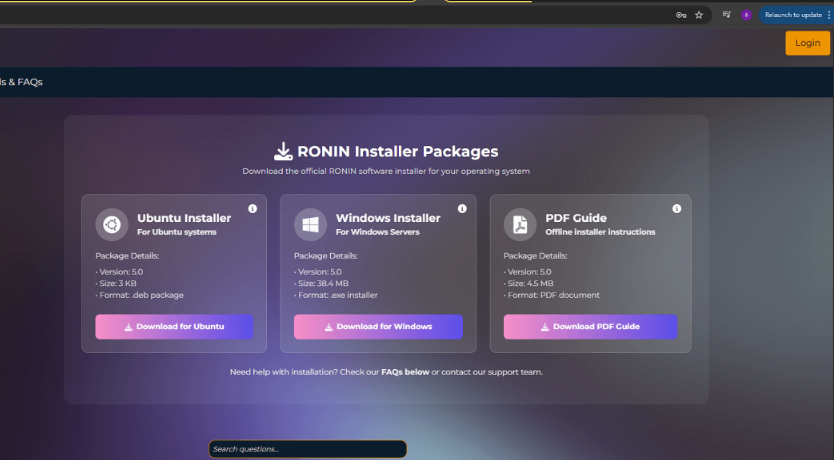
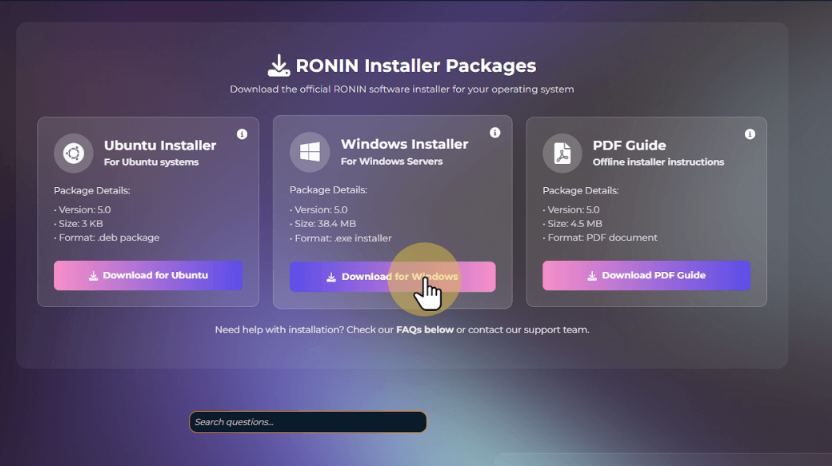
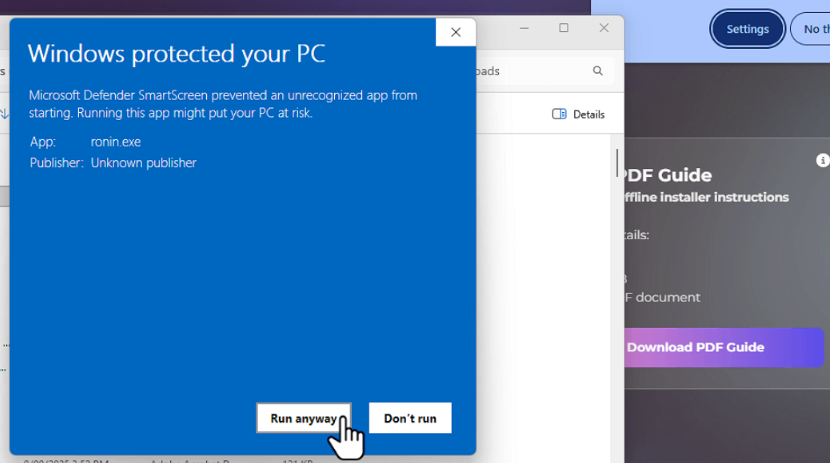
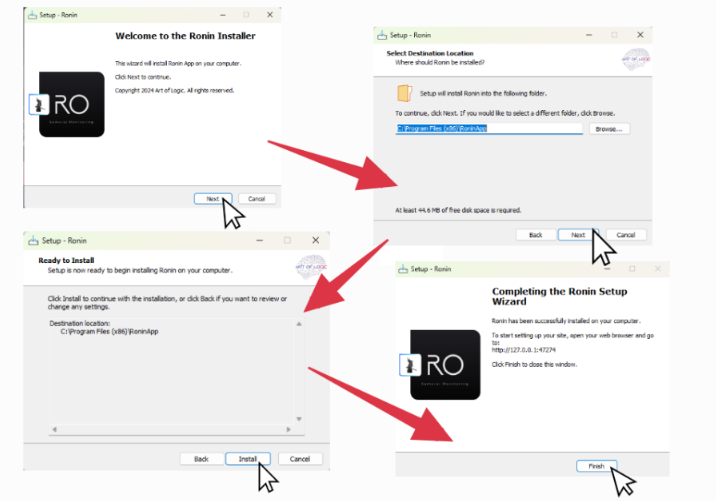
Windows Installation
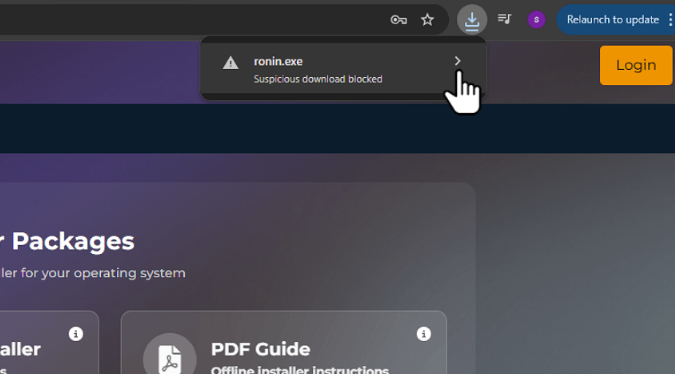
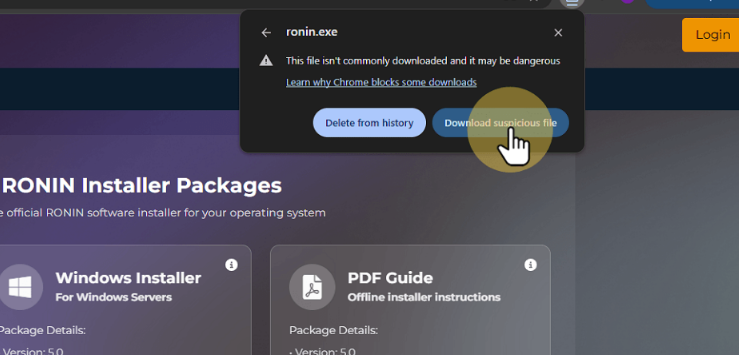
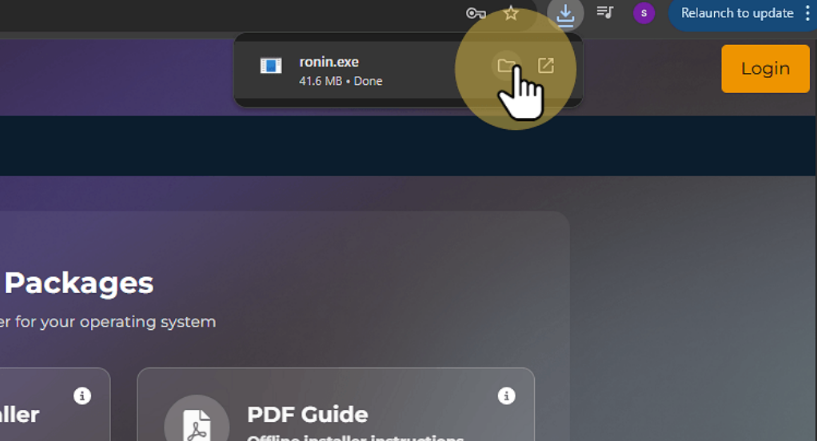
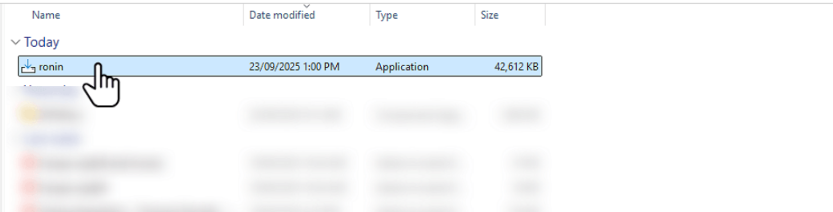
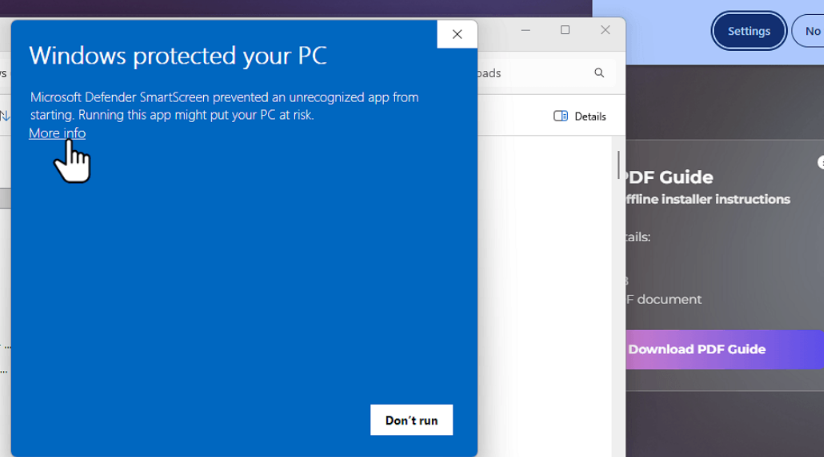
Click on "Download for Windows" to download the windows installer.
Ubuntu Installation
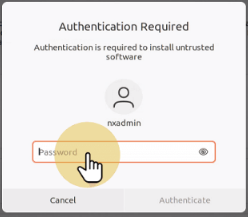
Click on the "Download for Ubuntu" button.
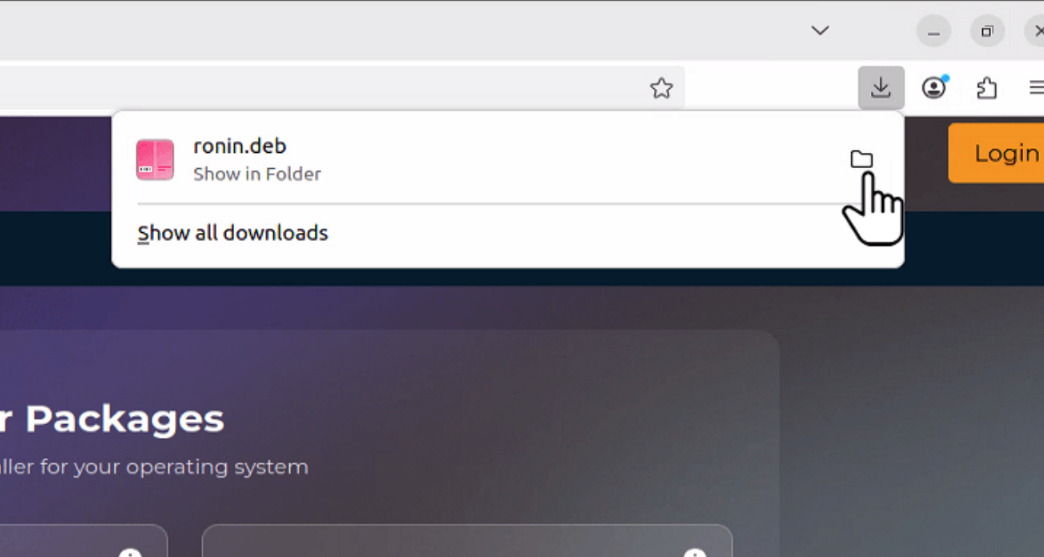
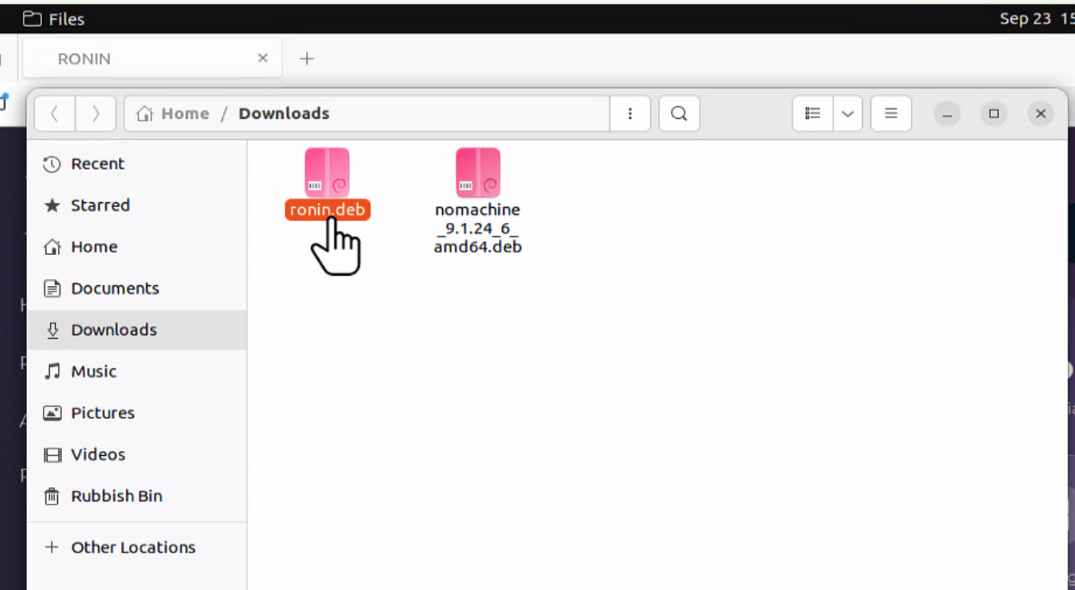
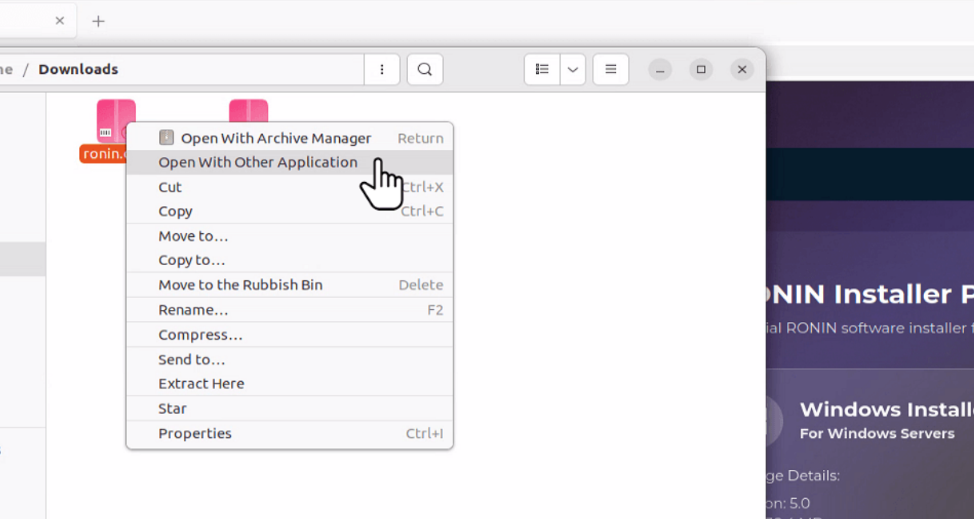
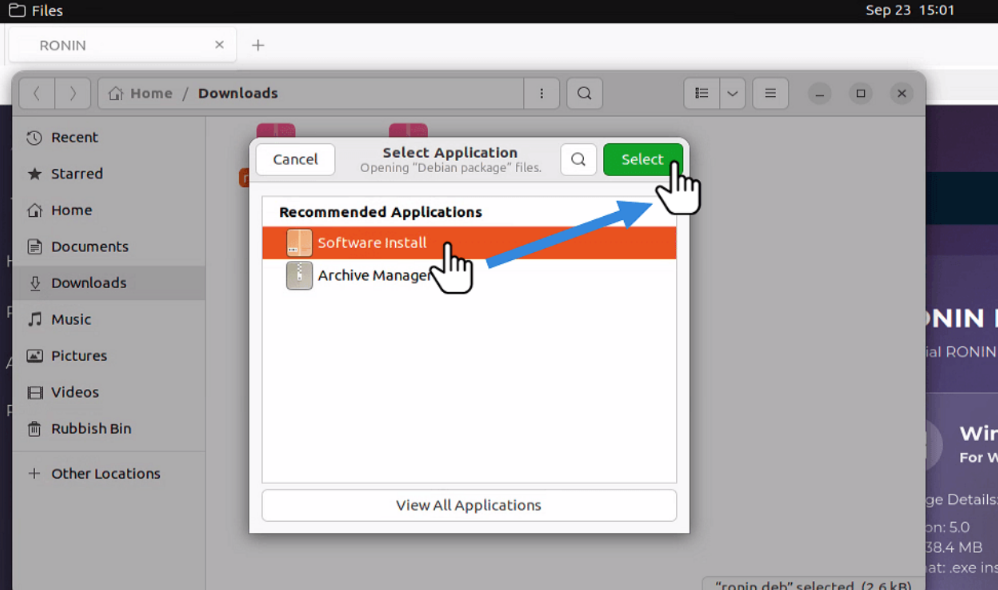
Then select "Open With Other Application" from the pop up menu.
2 - Configure Ronin
To access the Ronin configuration page open a web browser either on the device or another device on the same network.
If you are on the device that Ronin is installed on then you can find the configuration page by accessing the following URL:
http://127.0.0.1:47274
If you are on another device on the same network you can access the configuration page with the following URL where the device_ip is the IP of the device that has Ronin installed.
http://device_ip:47274
You should see the following page:
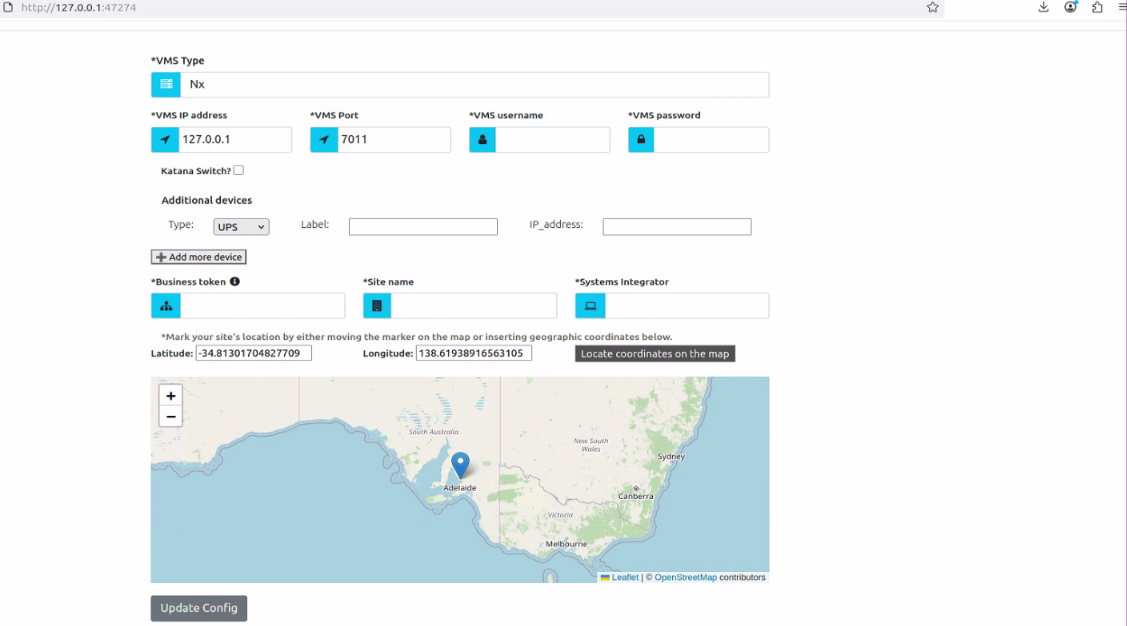
Base Setup
On this configuration page you can select your VMS type as either Nx, Milestone, Avigilon, Wisenet Wave, DW Spectrum.
In VMS IP address input the IP of your VMS server.
In VMS Port input the port number of your VMS server.
In VMS Username input the username of the account you have set up in your VMS server. As for VMS Password input the corresponding password for that account.
In Business Token input your business token which can be obtained from the Ronin portal. For a guide on how to find you business token click here: 📄 Ronin Portal Sign Up
In Site name you can input what your site is called. The name that you input here will be what is displayed on the Ronin portal.
In Systems Integrator input the name of the SI who installed your device. If you didn't have an SI then you can input NON or yourself.
For the map you can either input the latitude and longitude of the location of the device running Ronin or you can drag the curser on the map to the correct location.
There are also 2 other configurable options, these being adding a Katana switch to be monitored (this requires one of AOL's Katana devices which have inbuilt switches) or adding other additional devices such as UPS.
Adding A Katana Switch
If you have installed Ronin on one of AOL's Katana boxes that we have provided to you then you have the option to monitor the ports on the Katana switch through Ronin. To do this select the "Katana Switch" checkbox.
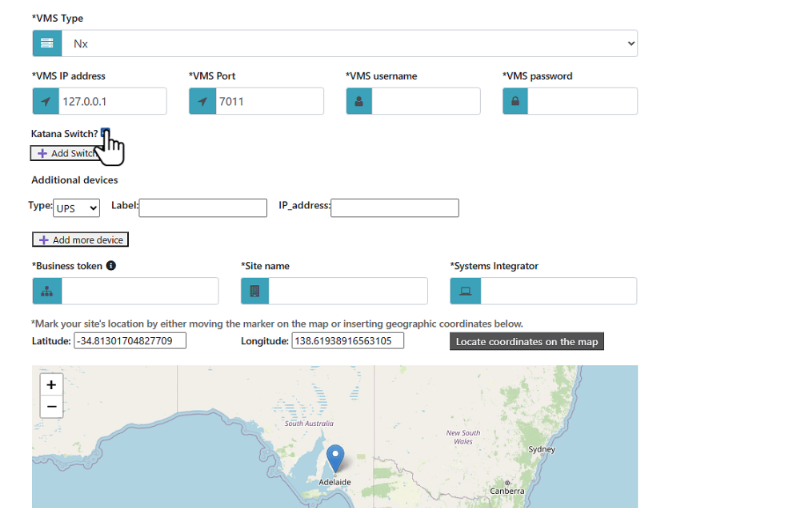
Then click on "Add Switch".
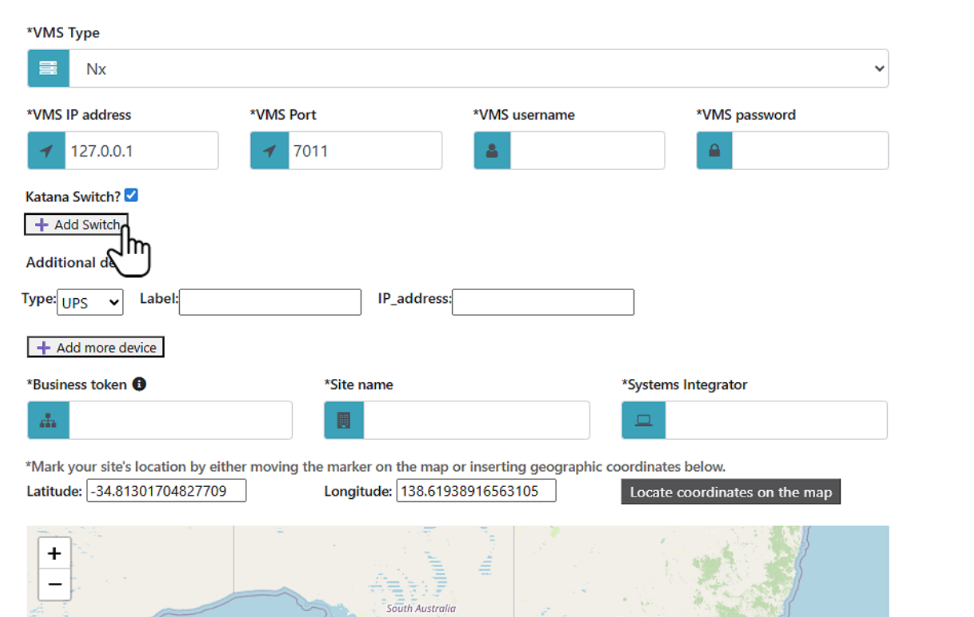
Enter the corresponding information regarding your Katana switch if it has already been setup. If the switch has not been setup yet then click on the following link to view a guide on how to setup the Katana switch: 📄 KATANA SWITCH GUIDE

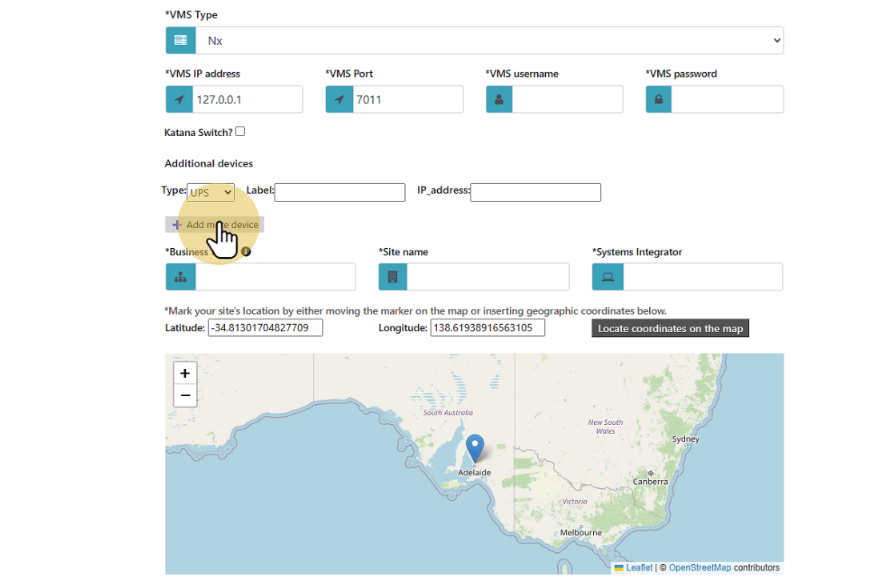
Adding Additional Devices
Ronin allows for the monitoring of other IP based devices on your network. To add additional devices you must first select the type of device from the drop down menu (either UPS or Other). You can then assign that device a label (name) and input its IP address.
Then if you want to add more just click on the "Add more devices" button.
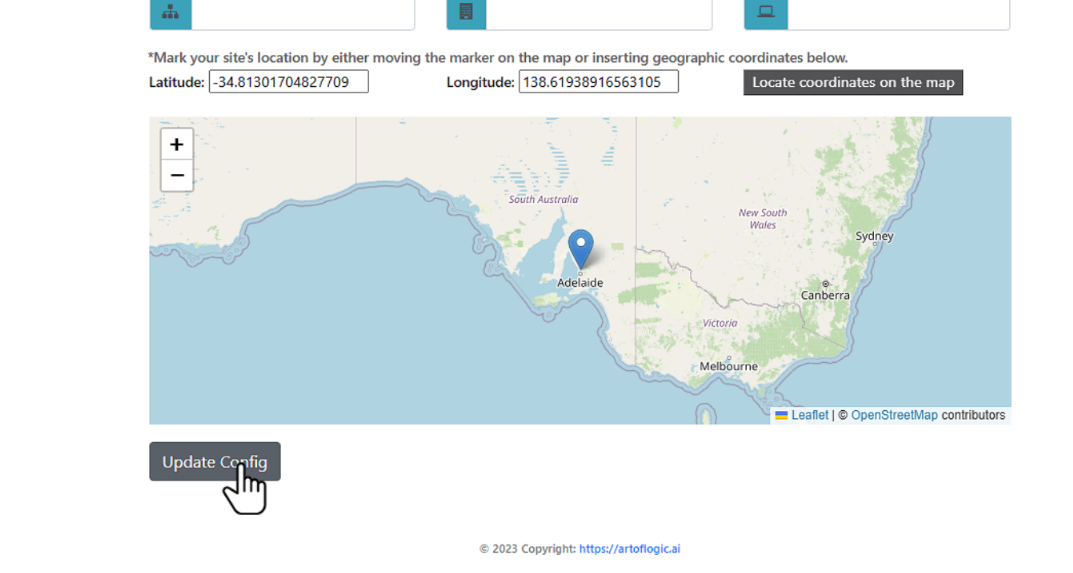
Save the configuration
Once you have filled in all of the base settings and any of the additional settings that you wish to add click on the "Update Config" button to save the configuration.
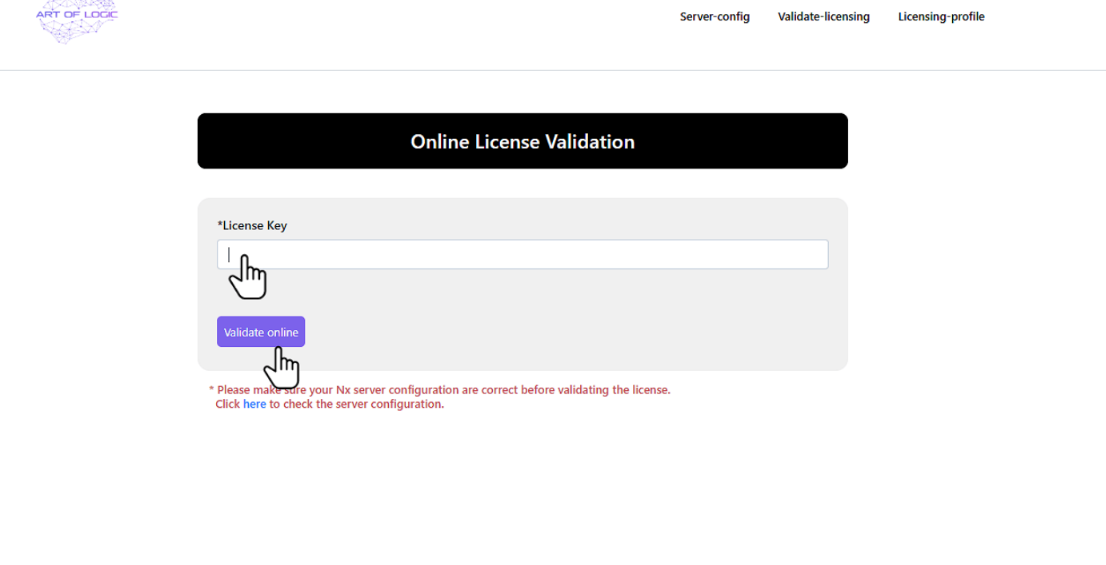
3 - Validate Licenses
In order to add your monitoring licenses click on the "Validate-Licensing" tab.
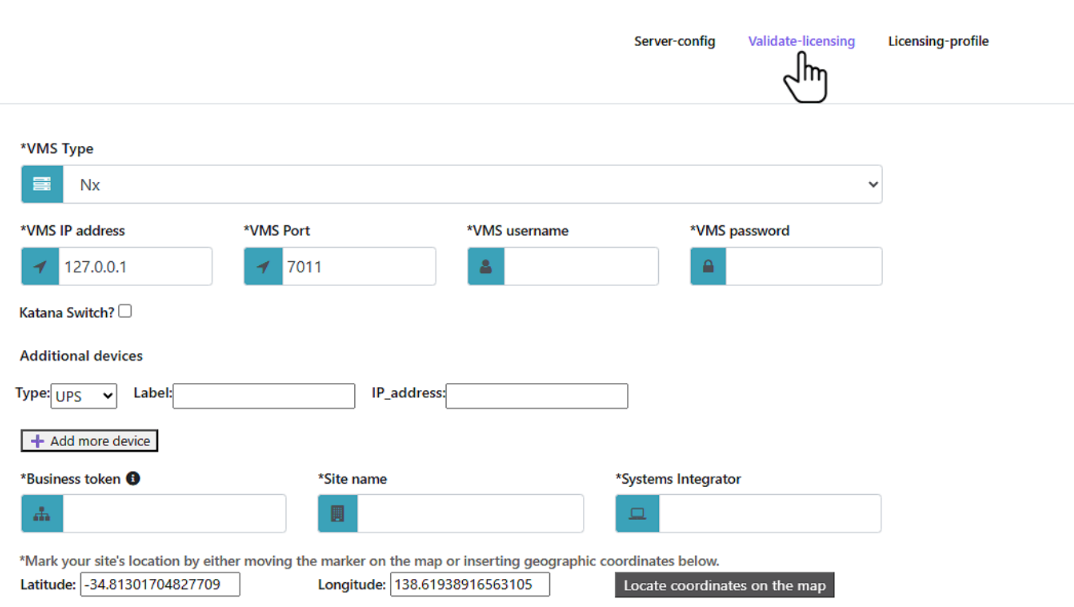
Then enter the monitoring license provided to you by AOL into the License Key field and then click on "Validate online".
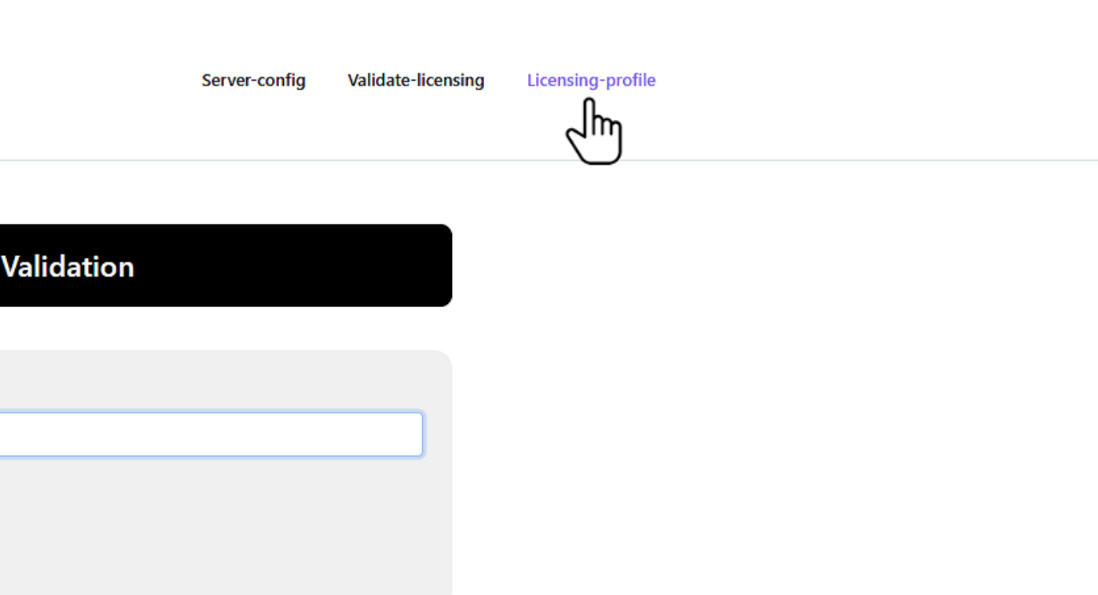
4 - View Licenses
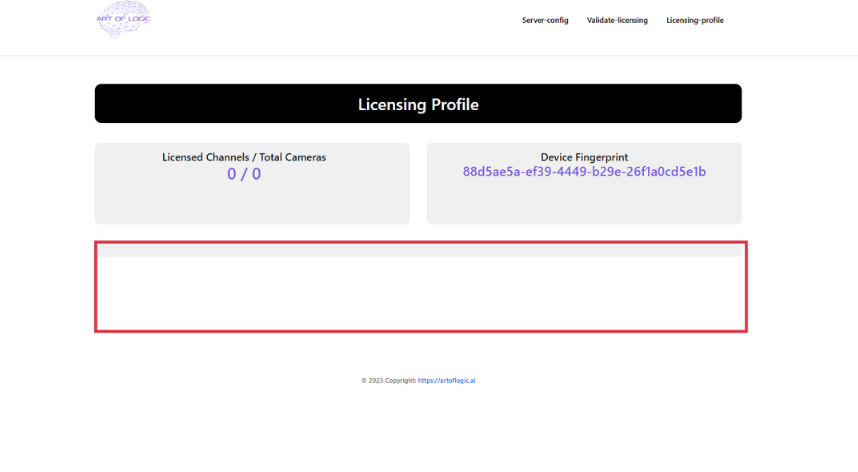
To view licenses that are already loaded onto the server you can click on the "Licensing-profile" tab.
Your licenses will appear in the highlighted area.
Your Ronin server is now fully configured and should be visible on your monitoring portal. It may take up to 5 minutes for it to appear after being configured.